This is my twelfth (12th) post in a series of entry-level posts, as suggested by Tim Ford (b|l|t) in this challenge.
I have not set any scope for the topics of my, at least, twelve (12) posts in this blog category of mine, but I can assure, it’ll be focused on SQL Server stuff. This time it’s going to be about how to create an Azure Analysis Services [AAS] Instance via the Azure Portal and connect to it from Power BI.

Previous Posts in Entry Level Serie:
- Which Database Servers … Analysis Services Instance(s)
- Backing up your VM’s in Azure on a Schedule
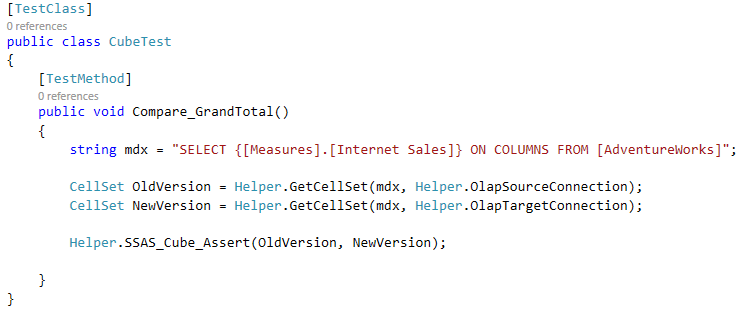
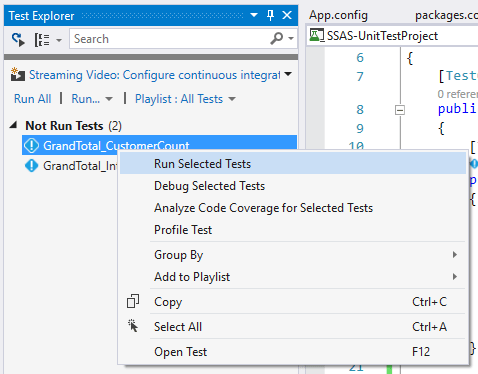
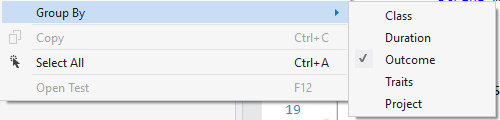
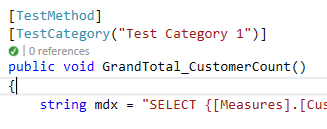
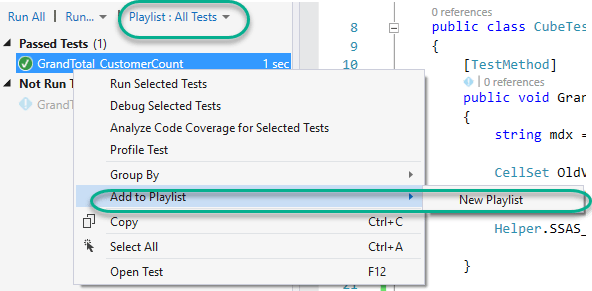
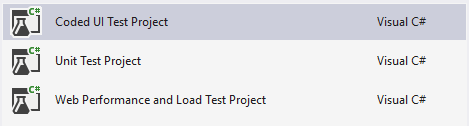
- Testing Your #SSAS Cubes w/ Visual Studio
- Creating a Striped Disk on Your Azure VM
- How to Query SSASMD using #DAX
- How to Quickly Remove Snippet Line Numbers in Visual Studio
- SSAS Compare by Red-Gate
- Filtering Tables in #SQLServer Management Studio
- Gemino!
- A Hello World Custom Assembly in SSAS
- Permission Scope in Analysis Services
Preface
One of the Microsoft’s biggest announcements at this years PASS Summit, was Azure Analysis Services. Period. CNTK second, IMO. So, why should you care?
According to Microsoft, this is why:
Based on the proven analytics engine in SQL Server Analysis Services, Azure AS is an enterprise grade OLAP engine and BI modeling platform, offered as a fully managed platform-as-a-service (PaaS). Azure AS enables developers and BI professionals to create BI Semantic Models that can power highly interactive and rich analytical experiences in BI tools such as Power BI and Excel. Azure AS can consume data from a variety of sources residing in the cloud or on-premises (SQL Server, Azure SQL DB, Azure SQL DW, Oracle, Teradata to name a few) and surface the data in any major BI tool. You can provision an Azure AS instance in seconds, pause it, scale it up or down (planned during preview), based on your business needs. Azure AS enables business intelligence at the speed of thought! For more details, see the Azure blog.
If you’re still thinking “Nah, it’s no biggie”, you should read it again. This is huge.
Getting it airborne
In this example, I will only show how to create the AAS instance from the portal. So we are heading there, right away. The easiest way, is to search in the services search field:
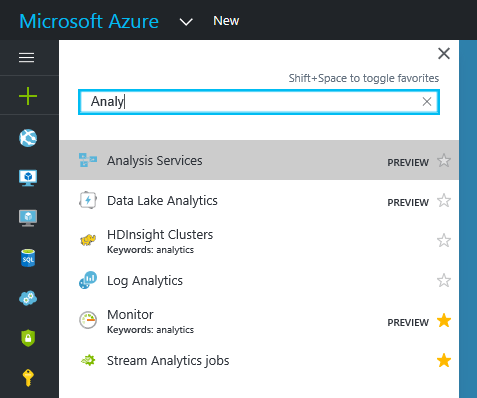
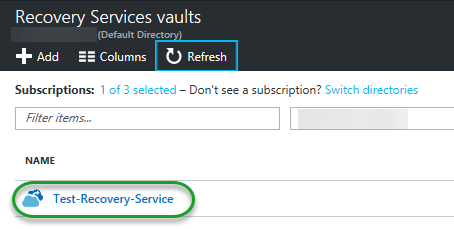
Click the Analysis Services link (as you can see, still in preview) and you will be directed to the, hopefully familiar, service tab/screen in Azure.

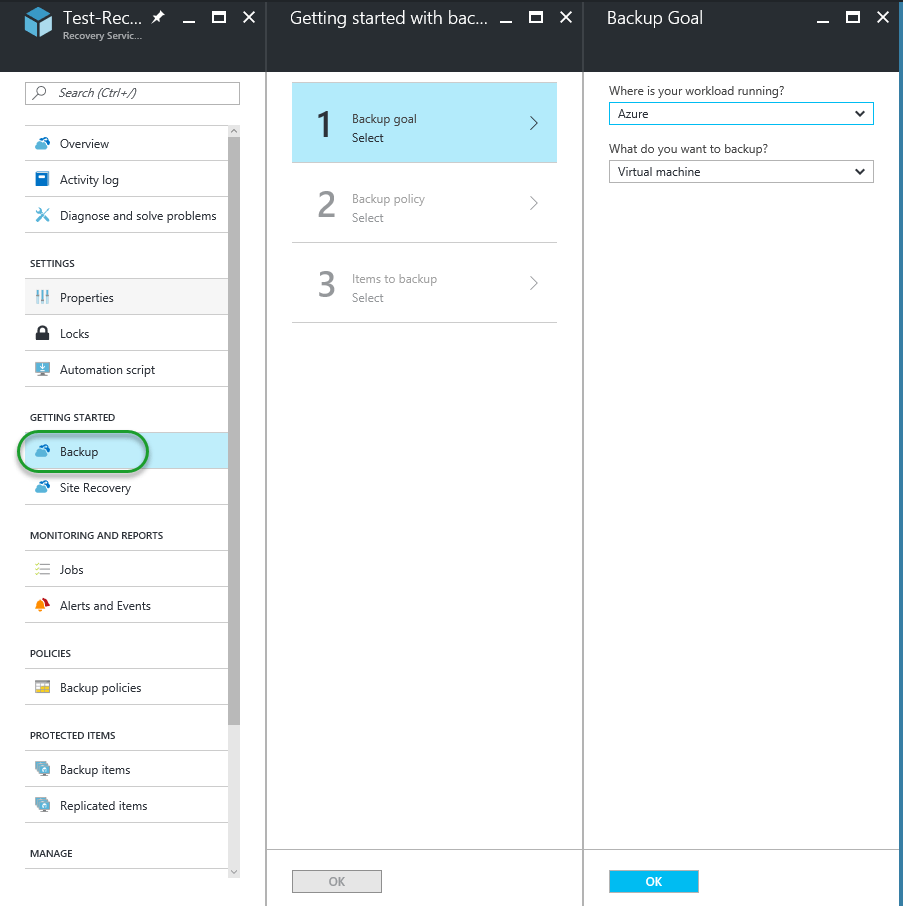
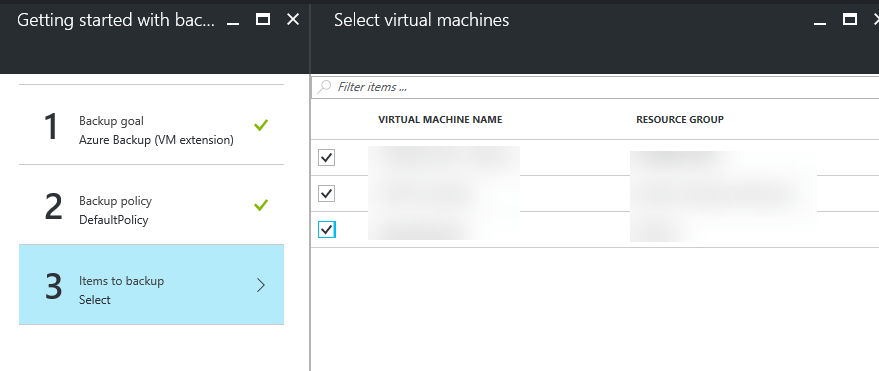
Click Add and you will see the configuration tab to the left
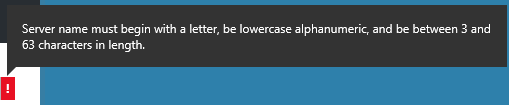
 On naming, there are currently? restrictions, so you are down these basic naming rules:
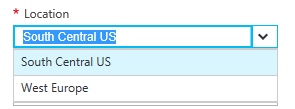
Locations supported are currently only West Europe and South Central US.
Probably the most interesting part (even if you don’t care, someone on a higher pay grade will) is about Pricing Tier. As for now, there are four (4) pricing tiers D1, S1, S2 and S4 (I see what you did there Azure Team; The well-known Windows skip version?) Approximate cost units are 1, 15, 30 and 60 respectfully; So if D1 costs $50 a month, S4 costs $3.000 – as you can see, forgetting to shut down an S4 instance can quickly build up a bill, so beware.
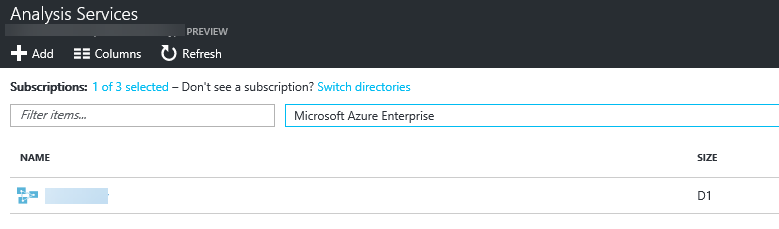
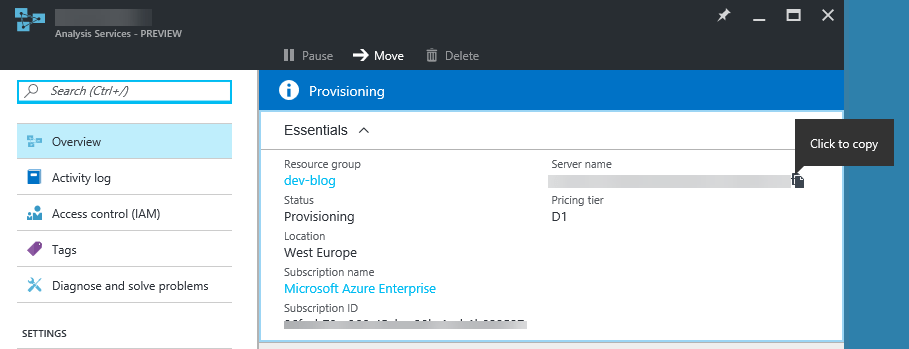
Once you click ‘Create‘ after setting all the configurations, you will be guided back to the service tab and here you’ll see your instance.
Connecting from Power BI
This requires the latest November update from the Power BI Team.
Before you connect, you need to get the server name. In Azure portal > server > Overview > Server name, copy the entire server name.
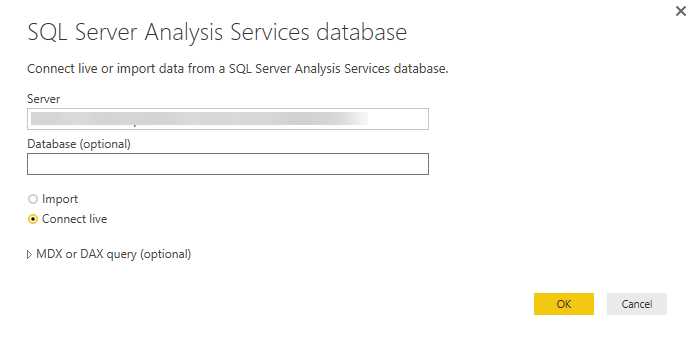
- In Power BI Desktop, click Get Data > Databases > Azure Analysis Services.
- In Server, paste the server name from the clipboard.

- In Database, if you know the name of the tabular model database or perspective you want to connect to, paste it here. Otherwise, you can leave this field blank. You can select a database or perspective on the next screen.

- Leave the default Connect live option selected, then press Connect. If you’re prompted to enter an account, enter your organizational account.
- In Navigator, expand the server, then select the model or perspective you want to connect to, then click Connect. A single click on a model or perspective shows all the objects for that view.


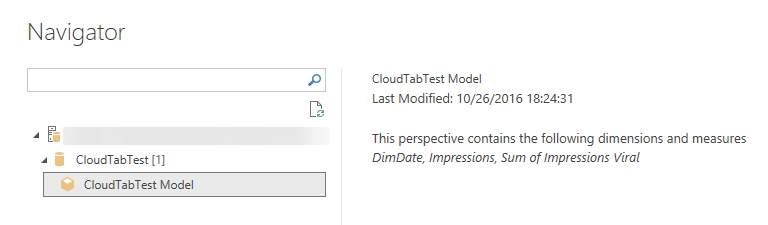
Voilà – Happy Data Discovery
![]()


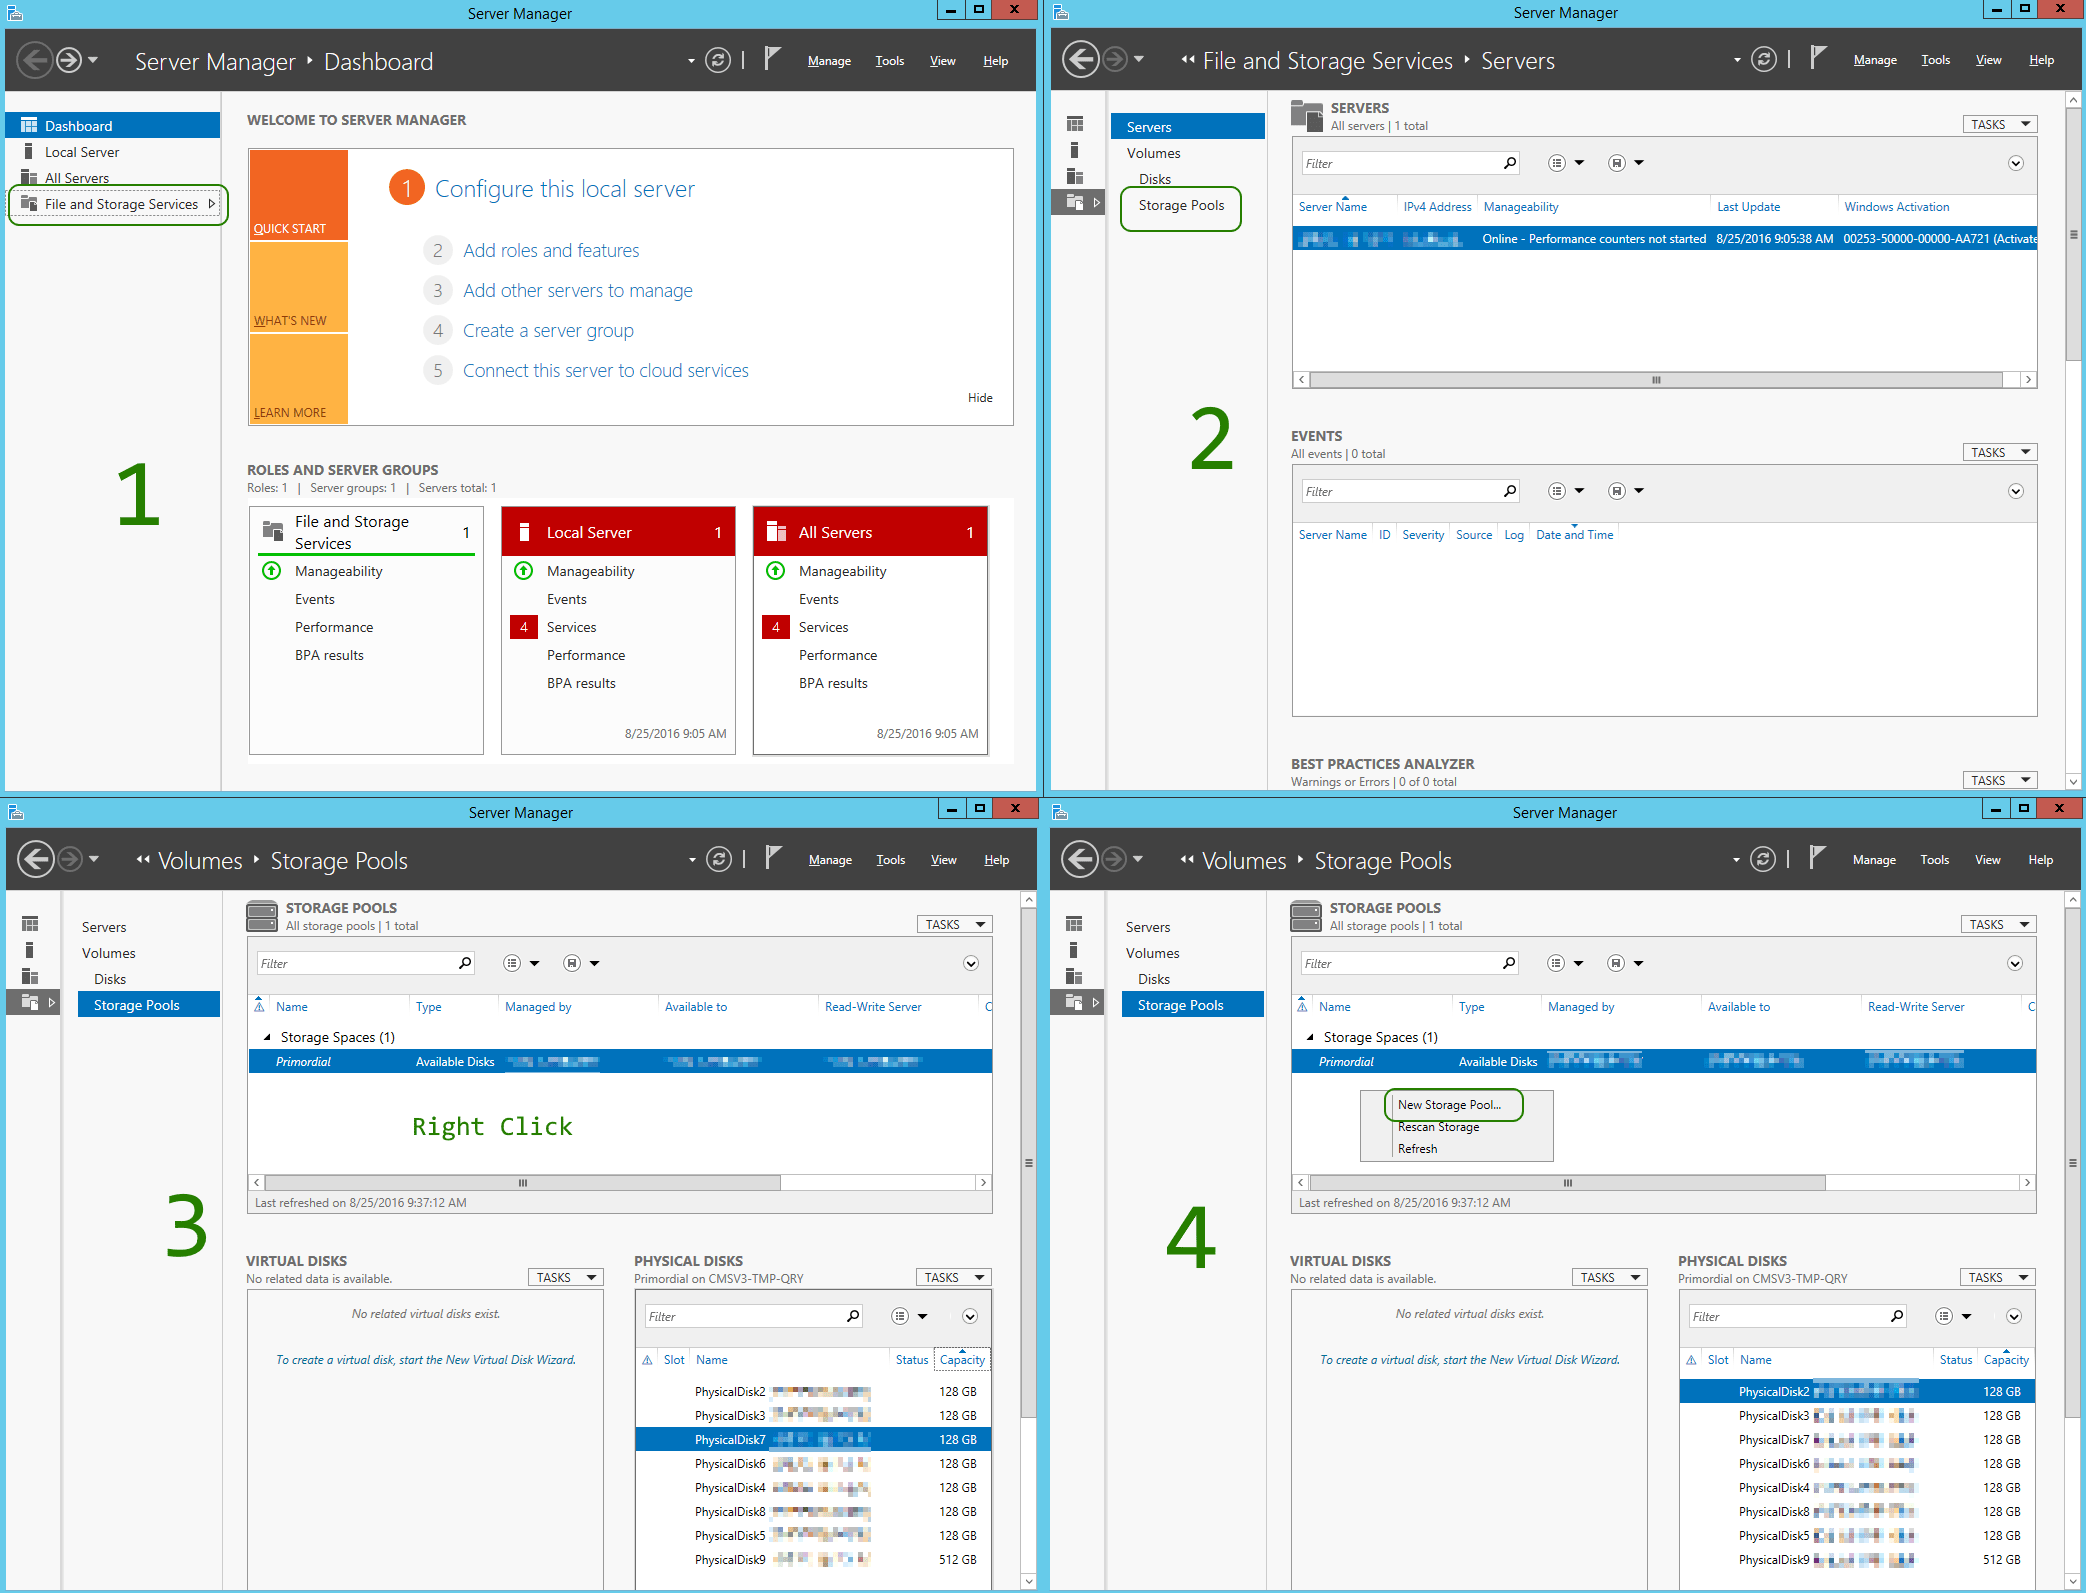
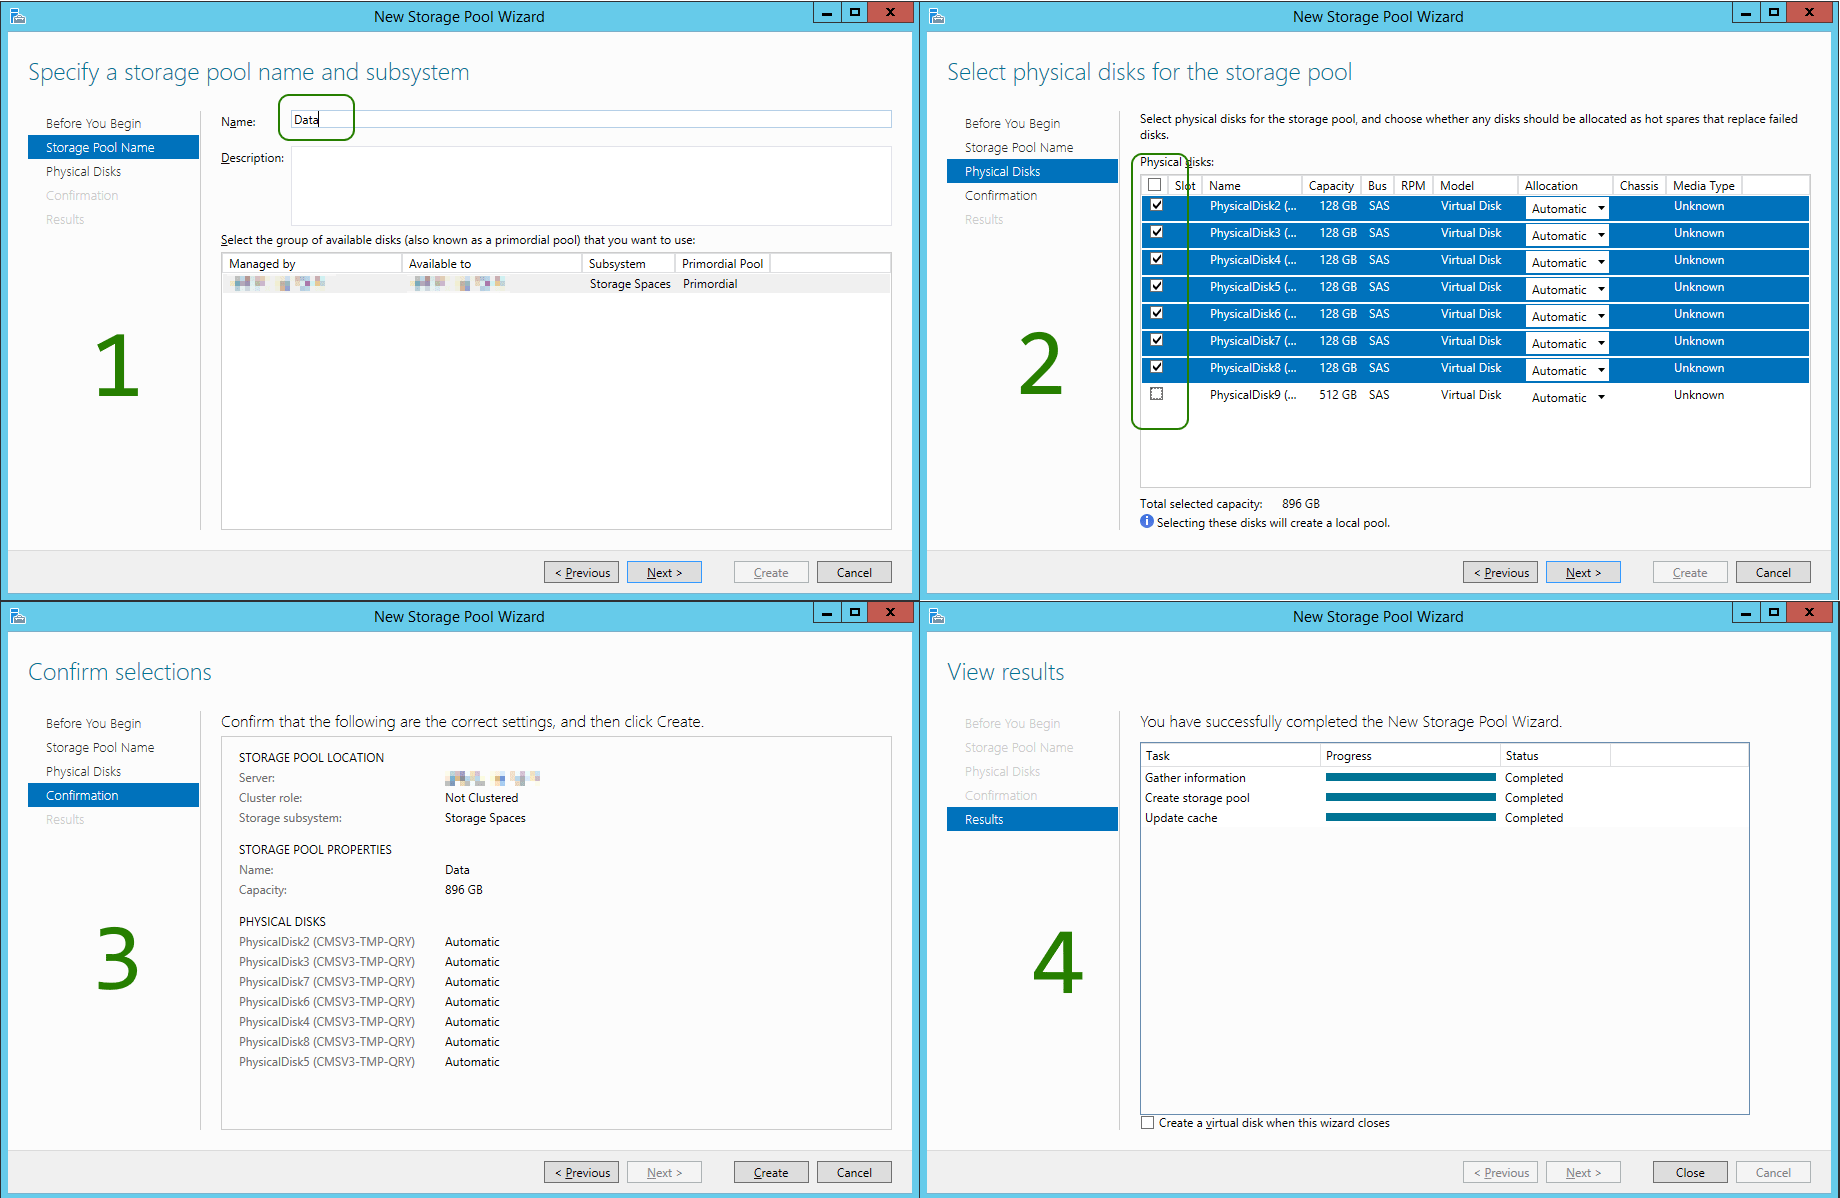
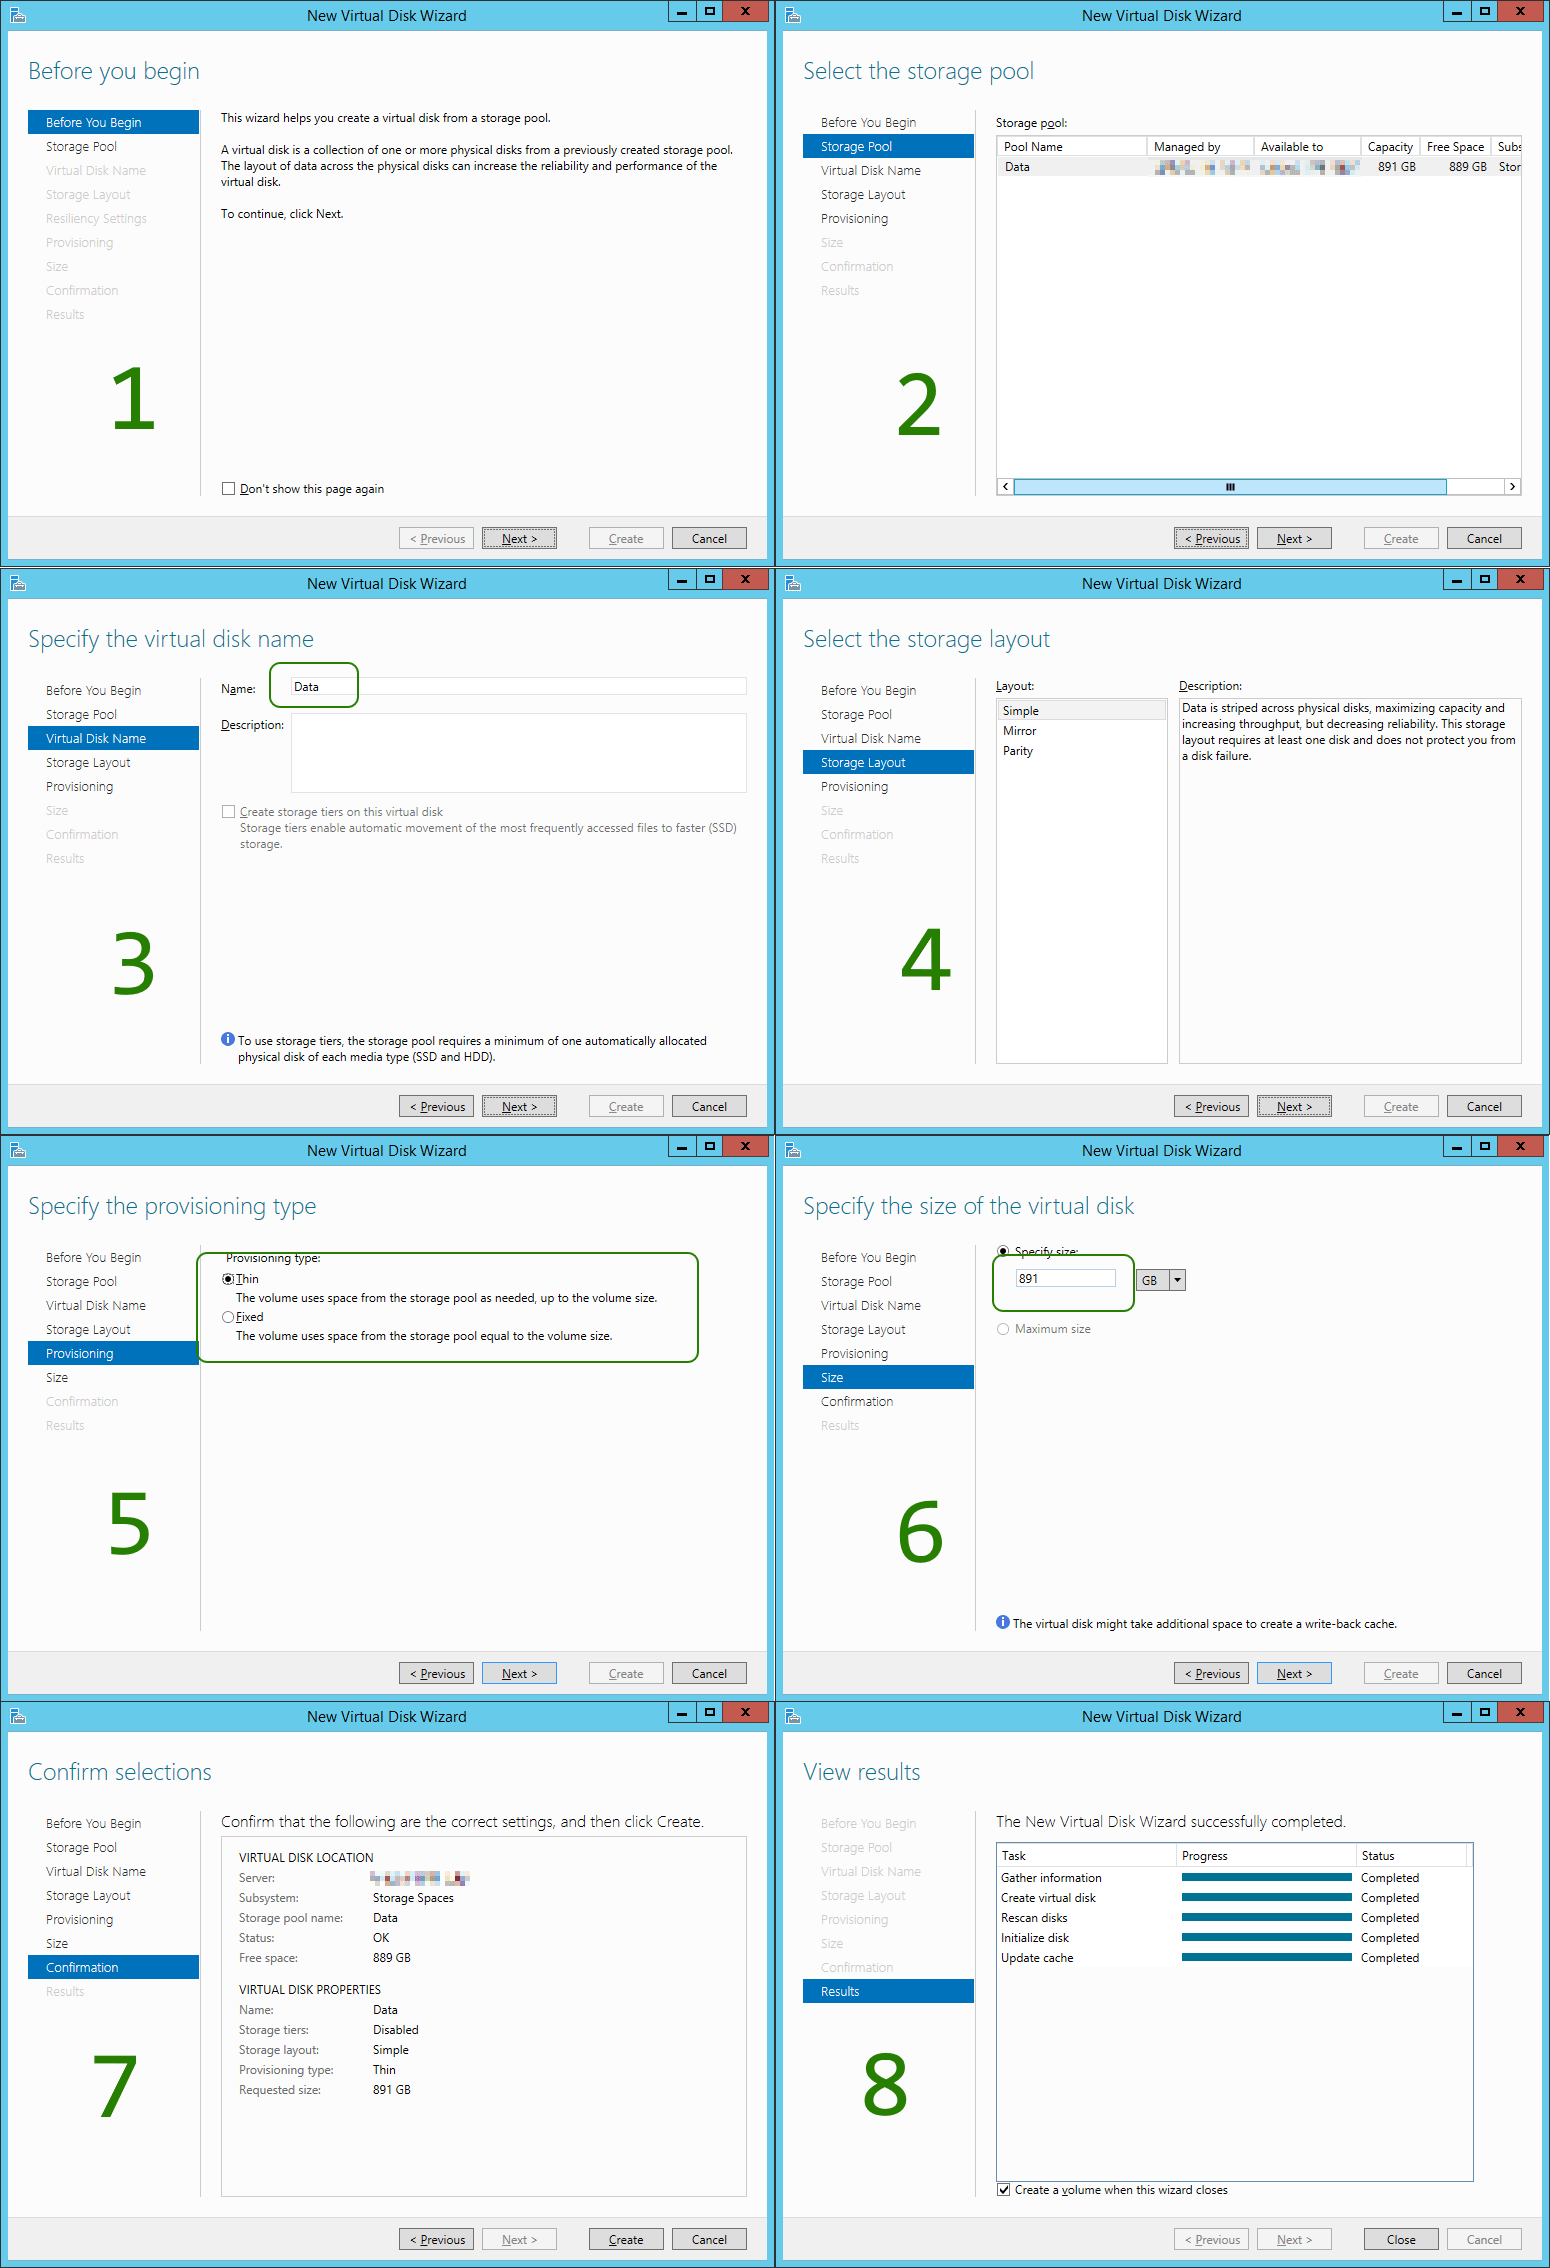
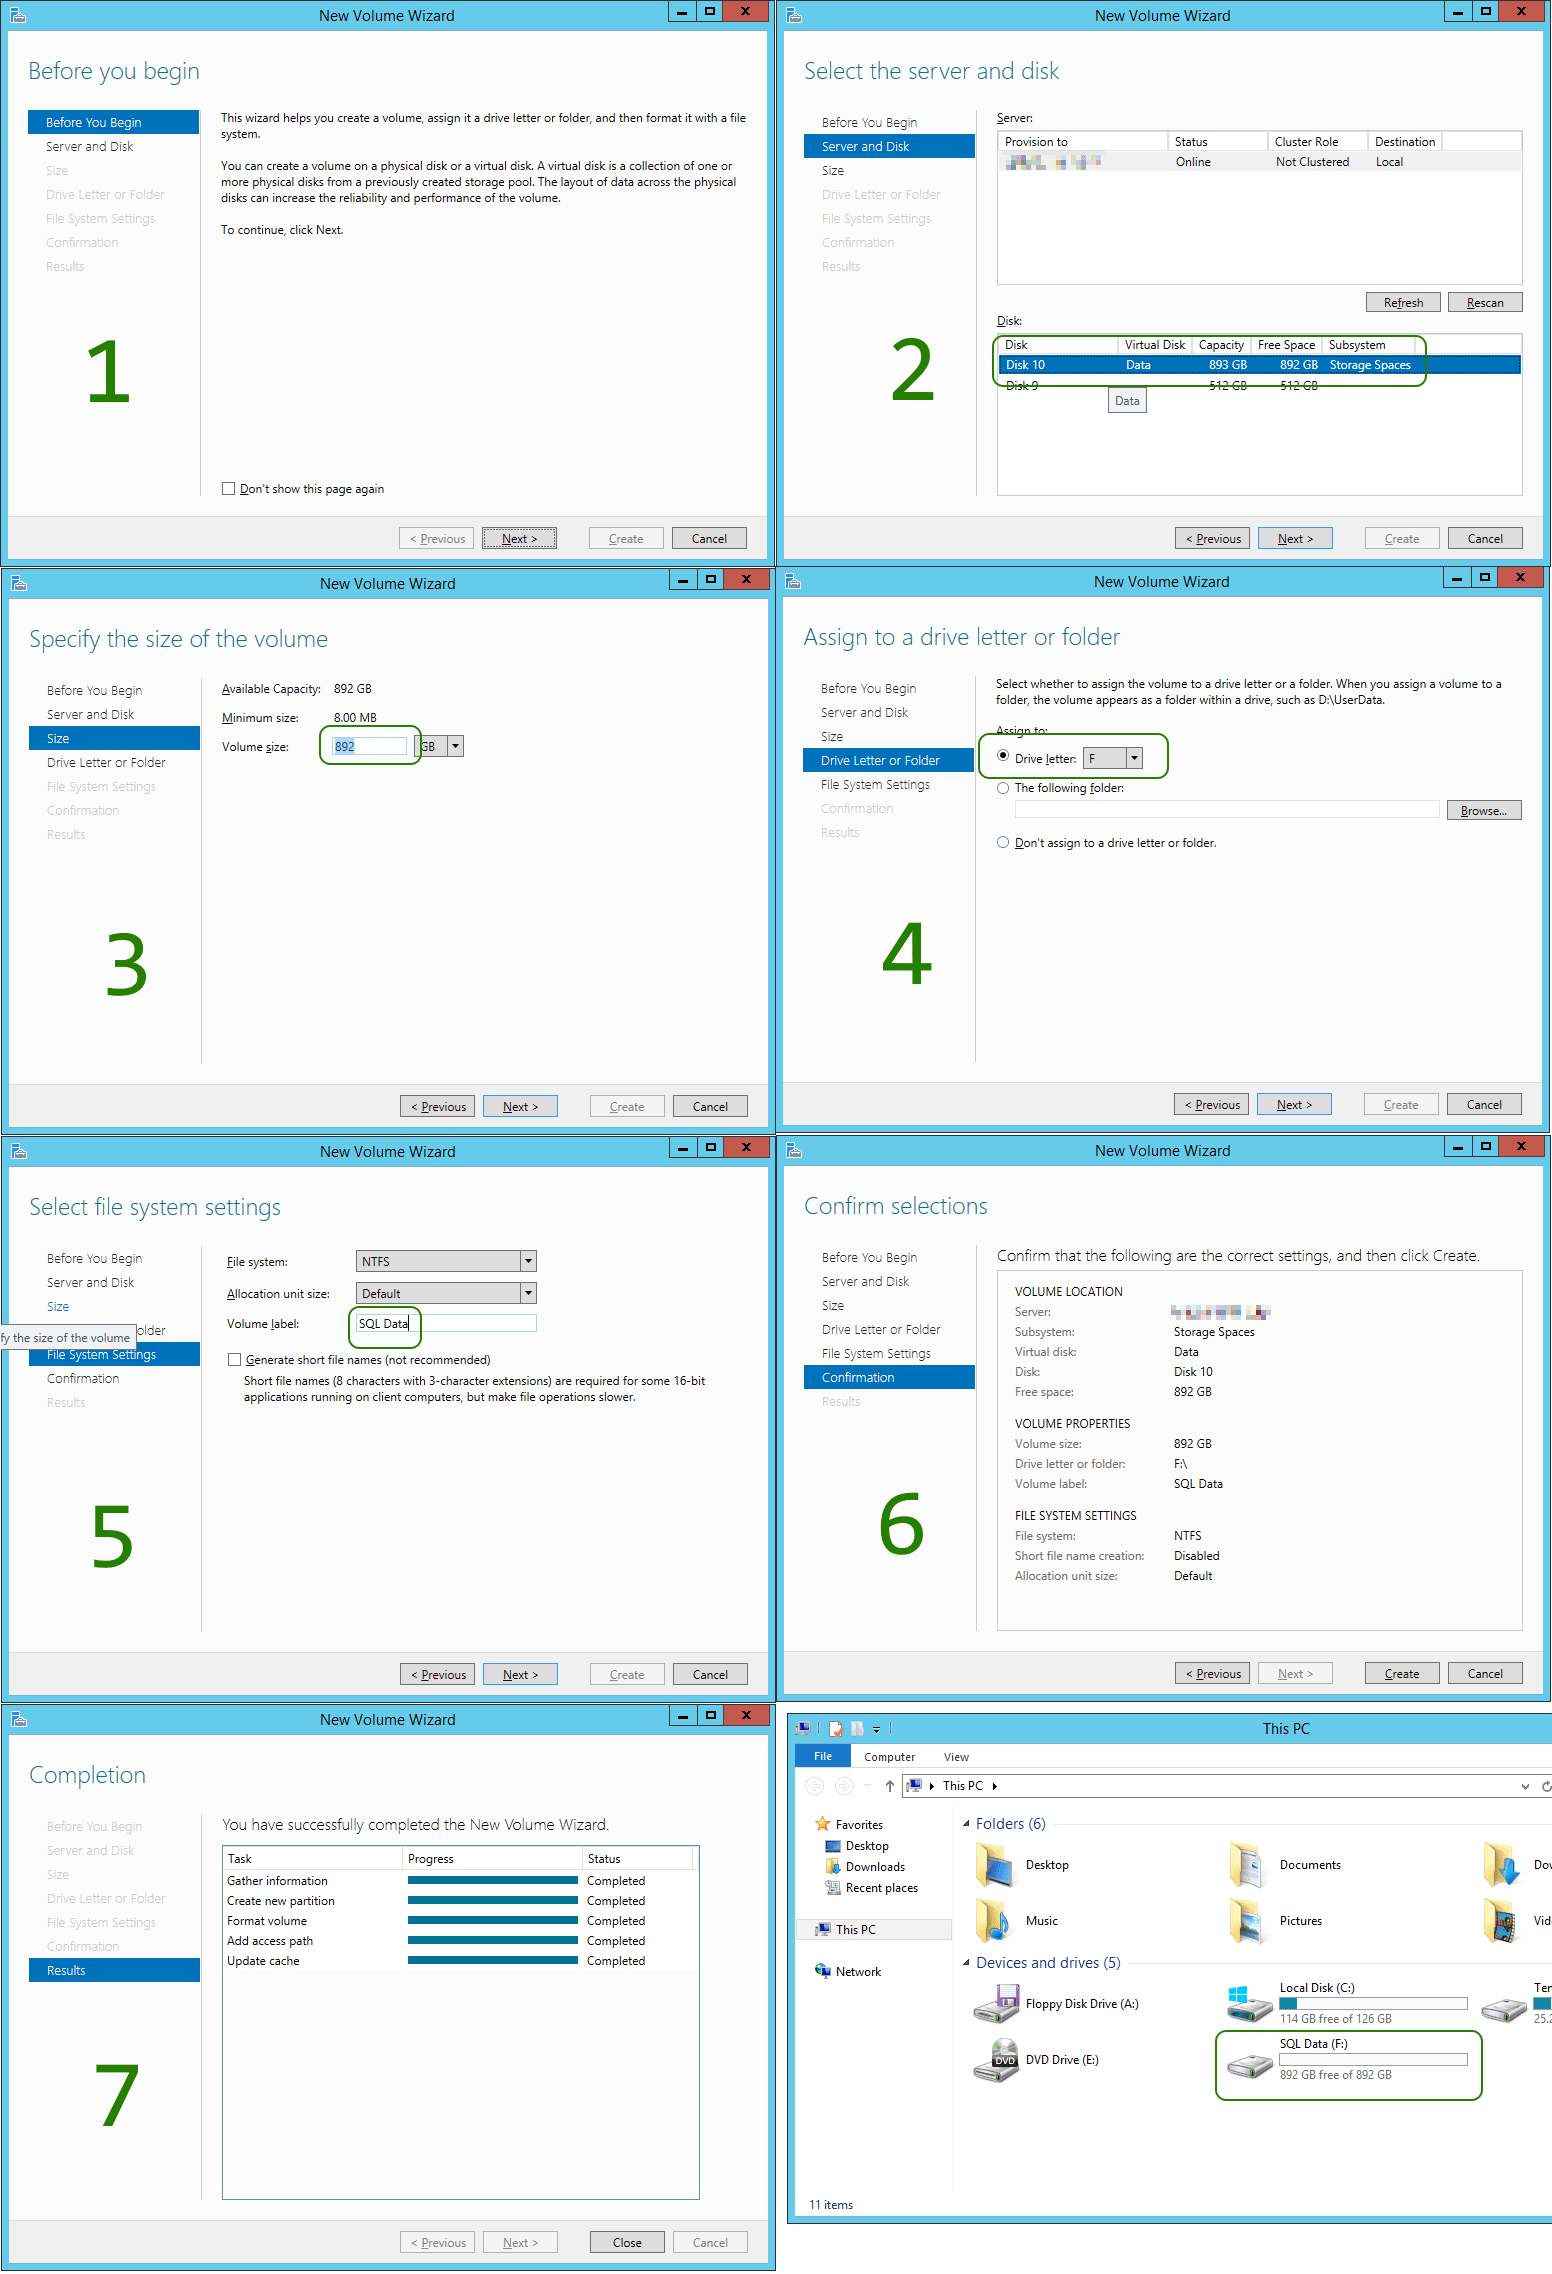
 As displayed in above screen shots, the single Azure Standard Storage VHD gives you (as promised) about 500 IOPS. Striping eight (8) of those, will roughly give you eight (8) times the IOPS, but not same magnitude of [MB/s] apparently. Still, the setup is better off, after, rather than before!